
Discover, Compare, and Join a Community
Find a community, review its access terms, join or request access, and keep your memberships organized.
In this guide3 sections and article resources
Article resources
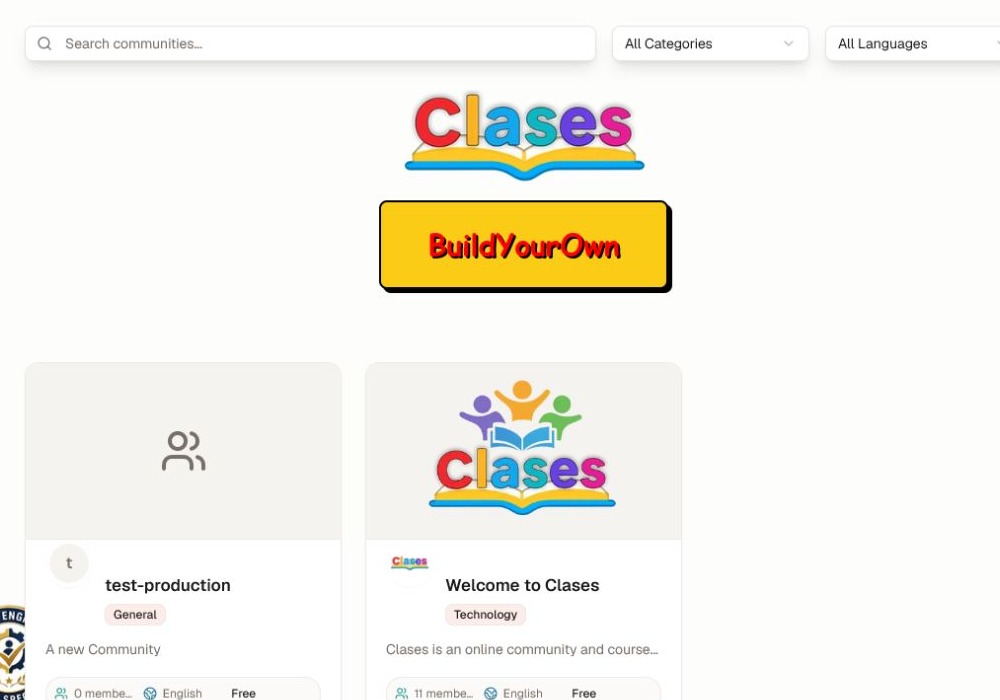
Use Discover to compare communities before you join.
- Open Discover from the main navigation.
- Search by community name or topic. Use the Category and Language filters to narrow the list.
- Open a community card to review its About page, description, member count, language, price, and included features.
- Choose the action the community offers: Join community, Request access, a plan or purchase button, or Notify me when plans are not available yet.
- Sign in or create an account if prompted, then finish the access questions or checkout shown.
Understand the access screen
Each creator controls how people enter their community:
- Free communities can let you join immediately or require approval.
- Private communities can show public information while keeping posts, lessons, events, and the member directory restricted.
- Paid communities can offer one or more plans. Read the billing interval, included access, cancellation terms, and any approval requirement before paying.
- If an Access link returns you to Discover, that community is not offering a separate access screen. Use its About or Plans page instead.
Already a member? The About page shows that status and links you back to the member experience instead of asking you to join again.
Join from an invitation or offer page
A creator may send you a public offer link that starts with /f/. Before you act, confirm the community name, what the offer includes, the price and billing interval, and that the page is on clases.community or an official custom domain for that community.
Use the action shown on the page to sign in, create an account, join a waitlist, or continue to checkout. A confirmation or thank-you page means the submitted step was received; it does not always mean a paid membership is already active. If the redirect is slow, do not submit payment again. Check My Groups, Settings → Payment history, and the target community first.
Never share a one-time verification code or full card details in chat or email. If the offer no longer exists, ask the creator for a current link instead of changing the URL yourself.
Find a membership you already have
Open My Groups to see the communities connected to the signed-in account. In Settings → Communities, you can reorder or hide memberships without leaving them. If a community is missing, confirm that you signed in with the same email address used to join or pay before creating another account.
Was this helpful?
Your response helps us improve this guide.